One thing I like most about having a food blog is experimentation. Sadly, eight times out of ten it all goes horribly wrong, but when your plans work, there is nothing that makes your heart beat faster or rejuvenates the excitement for baking more.

I just wish I could get someone to take and edit my photos for me; I find it really stressful.
I am never satisfied with my photos, and I don’t think there is one picture on my blog I am totally happy with. If I ever stop blogging (and believe me, it does cross my mind), it will be because of having to take photos!

Anyway, back to the recipe. This is gluten free. I haven’t shouted about it because I know for a fact that stating something is gluten free has the power to turn people off in their droves. Why is that? Why do people automatically assume that healthier means less taste?
So, shhh….let people fancy the look of this pie and not discover its secret until they are already drawn in. Perhaps we can convert a few sceptics along the way?

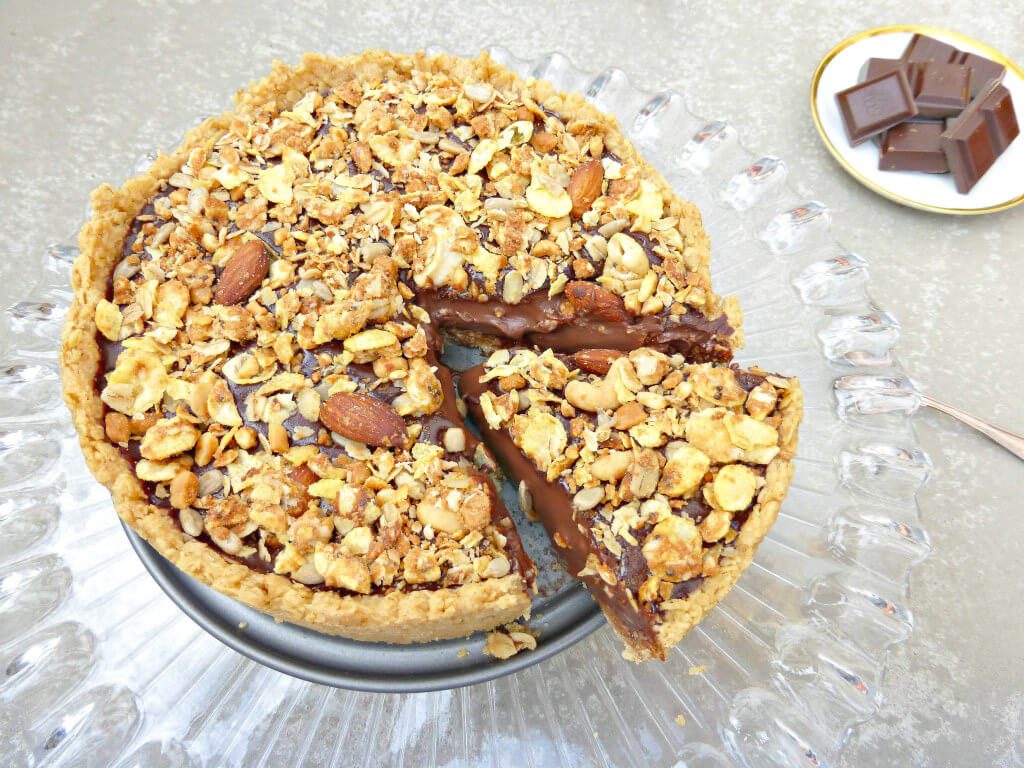
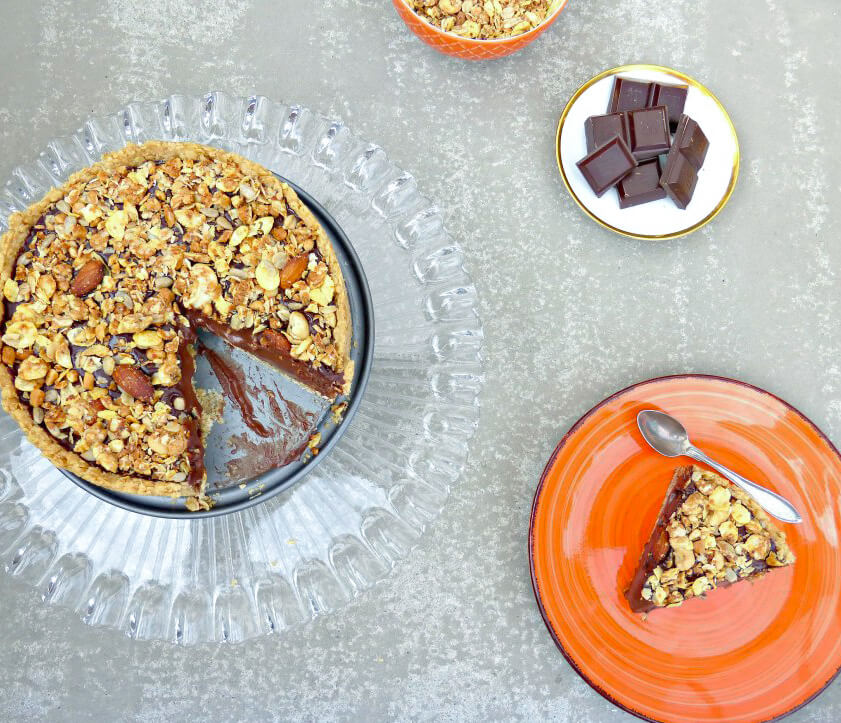
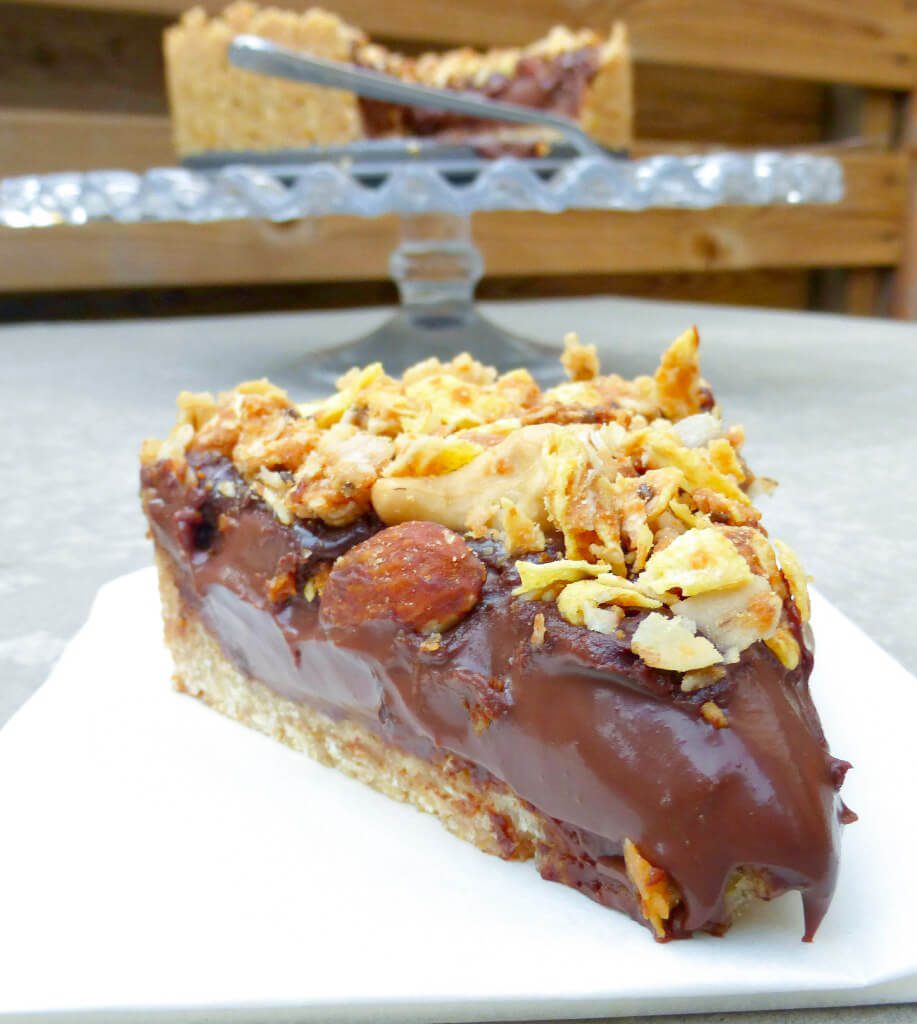
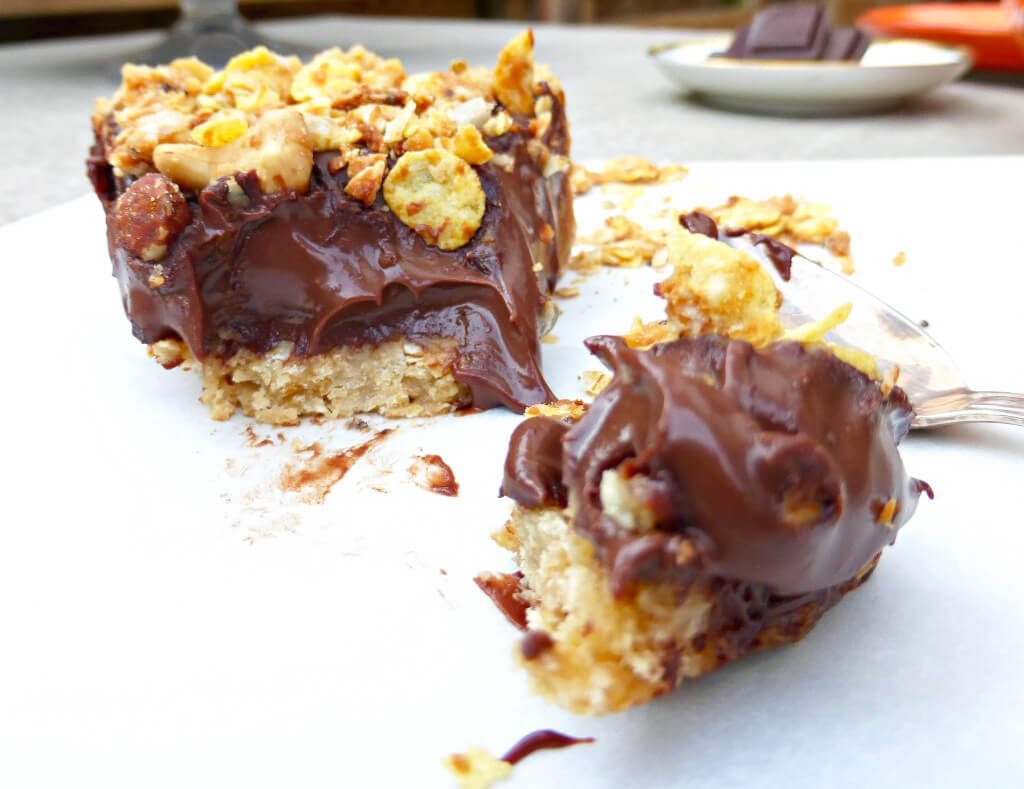
This silk pie has a filling which is fairly traditional (cream, dark chocolate, butter and sugar), but the crust is made of my favourite gluten free oat cookies.
The topping is simply some leftover peanut butter granola I made last week. You don’t need to go to the trouble of making the granola – chop a few nuts and sprinkle them over, and it would taste just as amazing.

- 4 tablespoons (60g) butter (melted)
- 1/2 cup (80g) brown sugar
- 1 cup & 2 tablespoons (100g) oats
- 1/3 cup (45g) plain (all-purpose)gluten free flour (I used Doves Farm)
- 1 teaspoon vanilla sugar
- 2 tablespoons maple syrup
- 1 cup (250ml) cream
- 1 tablespoon cocoa
- 3 tablespoons (45g) brown sugar
- 1/2 cup (100g) dark chocolate (chopped)
- 3 tablespoons (40g) butter (chopped)
- 1 teaspoon vanilla sugar
- 1 cup (100g) granola (or chopped nuts)
-
For the crust: Pre-heat the oven to 150°C. Melt the butter and set to one side.
-
Mix all dry ingredients together in a bowl and then add in the butter and maple syrup. Stir to ensure everything is well combined, ending up with a fairly sticky dough.
-
Using the back of a spoon, push the dough into a small springform pan (mine is 6" or 18cm), smoothing it up the sides of the pan (it should reach about half way up). Make sure the dough is evenly distributed but it doesn't matter if the sides are uneven in how far they reach up the pan.
-
Bake for 10 minutes and then remove from the oven. The dough will have risen a little, so gently push it back down with the back of the spoon and then return to the oven for a further four minutes. It's ready when the outside edges are just starting to brown but the middle looks undercooked (it hardens considerably when cooled). You may need to once more push the dough down a little with the back of the spoon if it has bubbled up. Put to one side while you make the filling.
-
In a medium-sized pan, heat the cream, cocoa, brown sugar and vanilla sugar together, just until the liquid starts a simmering boil. Remove from the heat and add the chocolate and butter. Leave to sit for around five minutes and then whisk together until it is nice and thick. Pour over the crust, cover and put in the fridge to harden (around an hour).
-
Remove from the fridge and sprinkle with the granola (or nuts) and then place back in the fridge for several hours (or until it has set firm). If you want a nice, even slice, pop it in the freezer for an hour, then cut it as required, then leave at room temperature to soften a little. Enjoy!
